Gardening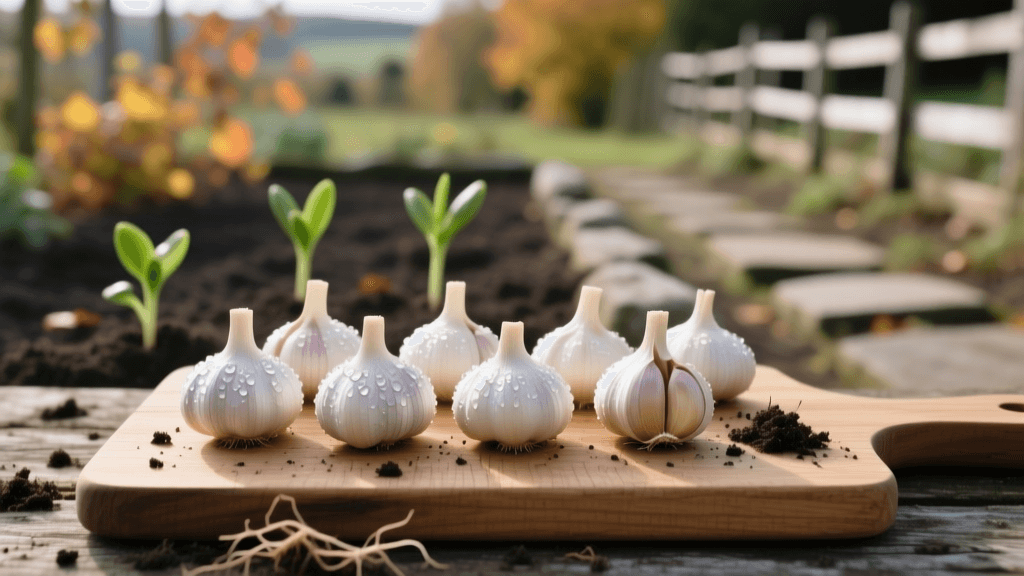
When To Plant Garlic: Seasonal Timing And Zone Guide
The Secret to Giant Garlic Bulbs: Timing and Vernalization
Garlic (Allium sativum) is one of the most rewarding crops a home gardener can cultivate, but it is also one of the most misunderstood when it comes to planting schedules. Unlike tomatoes or peppers that are planted in the warmth of spring and harvested before the first frost, garlic operates on an entirely different biological clock. The secret to growing massive, tightly wrapped, and flavorful garlic bulbs lies almost entirely in understanding when to plant garlic based on your specific climate zone and the plant's need for vernalization.
Vernalization is the biological mechanism that triggers a garlic clove to divide into a multi-clove bulb rather than simply growing into a single, large, onion-like round. To initiate this division, garlic requires a prolonged period of cold temperatures—specifically, exposure to temperatures between 32°F and 50°F for roughly 4 to 8 weeks. If you plant garlic at the wrong time of year, or fail to provide this cold period, you will likely harvest 'rounds' (single cloves) that are perfectly edible but lack the size and storage capability of properly vernalized bulbs. According to the University of Minnesota Extension, timing your planting so that the cloves establish roots before the ground freezes, but do not send up extensive top growth, is the golden rule of garlic cultivation.
Fall vs. Spring Planting: Which is Right for You?
While you can technically plant garlic in the spring, fall planting is overwhelmingly preferred by commercial farmers and expert home gardeners alike. Fall-planted garlic benefits from natural winter vernalization. The cloves develop a robust root system during the cool autumn months, allowing them to explode with vigorous top growth the moment the soil thaws in early spring. This head start results in significantly larger bulbs at harvest time compared to spring-planted garlic.
If you miss your fall planting window, spring planting is still possible, but it requires artificial vernalization. To achieve this, you must place your seed garlic in a paper bag inside the crisper drawer of your refrigerator for at least 8 to 12 weeks before planting. Do not store them near apples or other ethylene-producing fruits, as ethylene gas can damage the garlic's internal sprouting mechanisms. Even with artificial chilling, spring-planted garlic often yields smaller bulbs because the plants have less time to photosynthesize and bulk up before the long, hot days of summer trigger the bulbing process.
When to Plant Garlic by USDA Hardiness Zone
Determining the exact week to put your cloves in the ground depends heavily on your local climate. The general rule of thumb is to plant garlic 4 to 6 weeks before the ground is expected to freeze solid. This allows the clove to grow roots and anchor itself without pushing up vulnerable green shoots that could be killed by severe winter cold. Below is a comprehensive timing chart to guide your planting schedule.
| USDA Hardiness Zone | Optimal Planting Window | Soil Temperature Target | Vernalization Strategy |
|---|---|---|---|
| Zones 3-5 (Cold) | September 15 - October 15 | Below 60°F at 2-inch depth | Natural winter cold |
| Zones 6-7 (Transitional) | October 15 - November 15 | Below 55°F at 2-inch depth | Natural winter cold |
| Zones 8-9 (Warm) | November 15 - December 31 | Below 50°F at 2-inch depth | Natural cold or pre-chill |
| Zone 10+ (Subtropical) | December - January | N/A (Plant in cool season) | Mandatory refrigerator pre-chill |
Zones 3-5 (Cold Climates)
In northern regions with harsh, early winters, your window for planting is relatively narrow. You want to plant between mid-September and mid-October. The goal is to get the cloves in the ground while the soil is still workable and warm enough to stimulate root growth, but cool enough that the clove won't waste energy sending up green shoots. If shoots do emerge before winter, a thick layer of mulch will protect them, but it is best to time your planting so that only roots develop before the first hard freeze.
Zones 6-7 (Transitional Climates)
For the middle latitudes, the planting window shifts to mid-October through mid-November. Gardeners in these zones often find that planting around Halloween or shortly after yields the best results. The soil has cooled sufficiently to prevent premature sprouting, but the ground will not freeze solid for several more weeks, giving the garlic ample time to establish a deep, resilient root system. The University of Wisconsin-Madison Extension notes that hardneck varieties perform exceptionally well in these transitional zones, offering both large bulbs and the bonus of edible scapes in early summer.
Zones 8-10 (Warm Climates)
Gardeners in the Deep South, Gulf Coast, and coastal California face a unique challenge: winters are often too mild to provide the necessary vernalization period naturally. In zones 8 and 9, plant softneck varieties (which have a lower cold requirement) between late November and December. If you are in zone 10 or wish to grow hardneck varieties in zone 8, you must artificially vernalize your seed garlic in the refrigerator for 8 to 12 weeks prior to planting in December or January. Planting too early in warm climates can lead to fungal diseases and rot in the warm, damp soil.
How to Prepare the Soil Before Planting
Timing your planting correctly is only half the battle; the soil environment is equally critical. Garlic demands loose, well-draining soil rich in organic matter. Heavy clay soils that retain water will cause garlic cloves to rot over the winter, while overly sandy soils will fail to retain the moisture and nutrients the heavy-feeding plants require.
- Test and Adjust pH: Garlic thrives in a soil pH between 6.0 and 7.0. If your soil is too acidic, incorporate garden lime according to package instructions at least a month before planting.
- Amend with Compost: Work 2 to 3 inches of high-quality, aged compost into the top 6 inches of your garden bed. This improves drainage and provides a slow-release source of nitrogen.
- Boost Phosphorus and Potassium: Mix in a generous amount of bone meal or a specialized bulb fertilizer at the time of planting. Phosphorus is vital for strong root development and eventual bulb expansion.
- Consider Raised Beds: If you struggle with poor drainage or heavy clay, plant your garlic in raised beds. Elevated soil drains faster and warms up more quickly in the spring, promoting vigorous early growth.
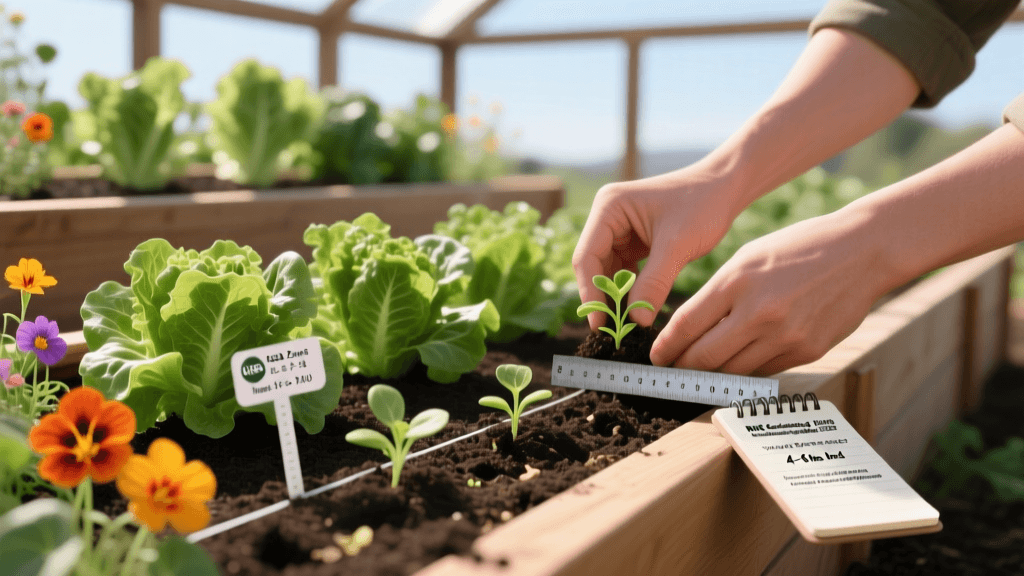
Step-by-Step Planting Instructions
Once your soil is prepped and the calendar aligns with your zone's optimal window, it is time to plant. Always use certified disease-free seed garlic from a reputable nursery or seed catalog. Garlic bought from the grocery store is often treated with sprout inhibitors and may carry soil-borne diseases that can contaminate your garden for years.
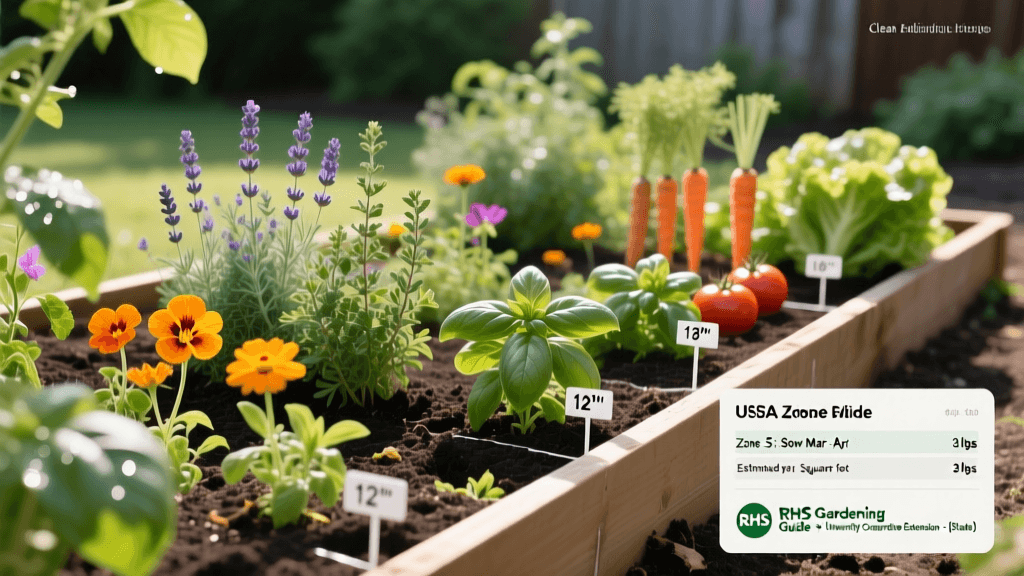
Break the garlic head into individual cloves just a day or two before planting, leaving the papery skin intact on each clove. This skin protects the clove from rot and pests. Dig a trench or individual holes 2 to 3 inches deep. In extremely cold zones (3-4), you can plant slightly deeper (up to 4 inches) for added frost protection. Place each clove in the hole with the flat, basal root plate facing down and the pointed tip facing up. Planting them upside down will result in deformed bulbs and stunted growth. Space the cloves 6 inches apart in rows that are 12 inches apart. Cover with soil, water deeply once to settle the earth, and prepare for the next crucial step: mulching.
Mulching and Overwintering Strategies
After planting, applying the right mulch at the right time is essential for overwintering success. Mulch serves three purposes: it insulates the soil against extreme temperature fluctuations (which can heave the cloves out of the ground), it suppresses early spring weeds, and it retains soil moisture.
Wait until the soil has cooled significantly and the first light frosts have occurred before applying mulch. If you mulch too early while the soil is still warm, you risk trapping excess moisture and encouraging fungal diseases or rodent nesting. Apply a 4 to 6-inch layer of seed-free straw, shredded autumn leaves, or marsh hay over the garlic bed. In the spring, as the ground thaws and the garlic begins to push green shoots through the mulch, you can gently pull back the mulch layer slightly to allow the soil to warm up faster, though many gardeners simply let the shoots grow right through the straw.
Signs It Is Time to Harvest
Fast forward to the following summer, and your timing knowledge will pay off. Knowing when to harvest is just as critical as knowing when to plant. Harvest too early, and the bulbs will be small with thin wrappers that do not store well. Harvest too late, and the bulbs will over-mature, causing the protective papery wrappers to split open, exposing the cloves to soil and reducing their shelf life drastically.
Expert Tip: For hardneck garlic varieties, the emergence of 'scapes' (curly flower stalks) in early summer is your first major timing cue. Snip these scapes off immediately to redirect the plant's energy back into bulb formation. The scapes are a delicious culinary treat, perfect for making pesto!
The ultimate sign that it is time to harvest is the condition of the leaves. Garlic leaves correspond to the protective wrapper layers on the bulb. When the bottom three or four leaves have turned brown and dried out, but the top five or six leaves are still partially green, it is time to dig. Carefully loosen the soil with a garden fork several inches away from the stem to avoid piercing the bulbs, and gently lift them out. Do not wash the bulbs with water; instead, brush off excess dirt and move them to a dark, dry, well-ventilated area to cure for 4 to 6 weeks before storing.
Mastering the timing of garlic—from the precise autumn week you place the clove in the earth to the mid-summer day you pull the mature bulb—transforms this crop from a garden gamble into a guaranteed, high-yield harvest. By respecting the plant's need for vernalization and aligning your schedule with your specific USDA hardiness zone, you will enjoy a pantry full of robust, flavorful garlic all year long.