Gardening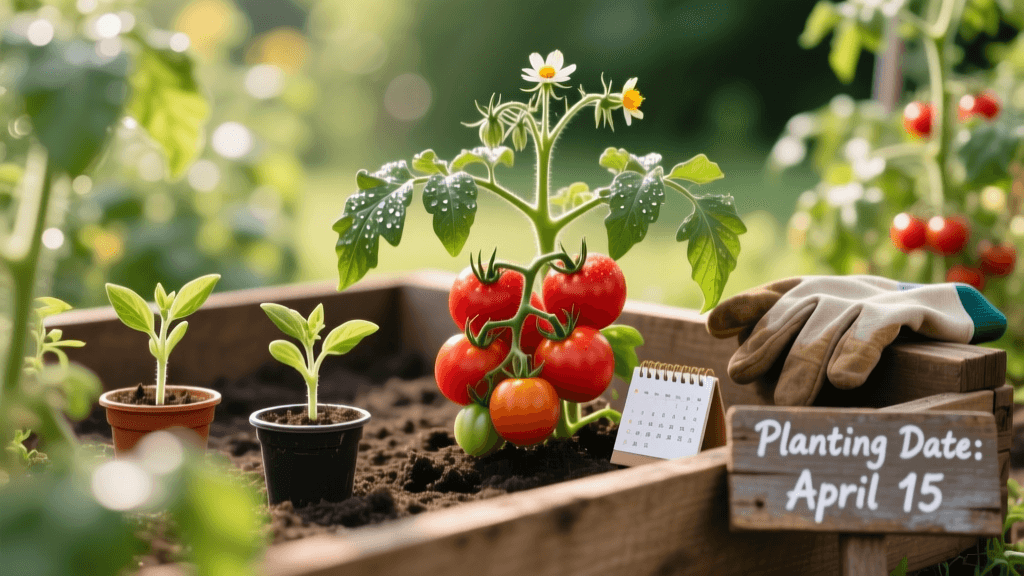
When To Plant Tomatoes: The Ultimate Timing Guide
Mastering the Tomato Timeline: Why Timing is Everything
Growing a bountiful crop of tomatoes is a rite of passage for home gardeners, but success relies heavily on understanding the precise timing of each growth stage. Tomatoes are warm-season crops that are highly sensitive to frost and cold soil. Planting them too early can stunt their growth or kill them outright, while planting them too late can result in unripe fruit when autumn frosts arrive. This comprehensive when-to timing guide will walk you through every critical phase of the tomato lifecycle, from starting seeds indoors to harvesting your final sun-ripened fruits. By aligning your gardening tasks with the optimal seasonal windows, you can maximize your yield and enjoy the best possible flavor from your garden.
Phase 1: When to Start Tomato Seeds Indoors
For most gardeners in temperate climates, the tomato timeline begins indoors. The general rule of thumb is to start your tomato seeds indoors 6 to 8 weeks before your area's last expected spring frost date. Starting seeds too early leads to leggy, root-bound seedlings that struggle to adapt when transplanted. Starting them too late delays your harvest and shortens your overall growing season.
Seed Starting Best Practices
To ensure successful germination, timing must be paired with the right environment. According to the University of Minnesota Extension, tomato seeds require a soil temperature between 70 and 80 degrees Fahrenheit to germinate efficiently. At these temperatures, you should see sprouts within 5 to 10 days. If your indoor space is cooler, consider using a seedling heat mat to maintain consistent bottom heat. Use a sterile, lightweight seed-starting mix rather than heavy garden soil, which can harbor pathogens and impede delicate root growth. Plant the seeds approximately one-quarter inch deep, keep the soil consistently moist but not waterlogged, and provide 14 to 16 hours of bright light daily using fluorescent or LED grow lights placed just a few inches above the seedlings.
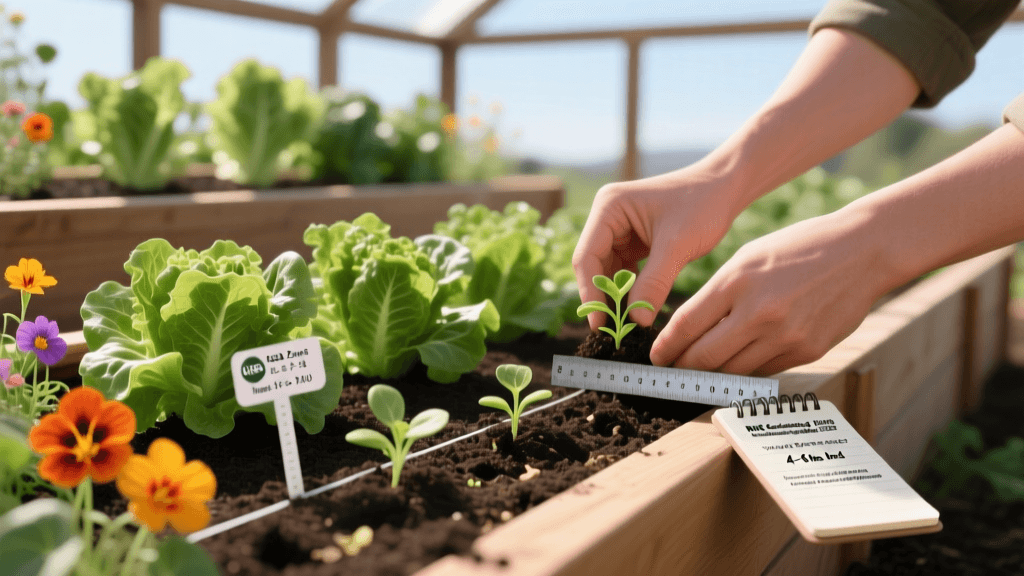
Phase 2: The Critical Hardening Off Period
You cannot move tender, indoor-grown tomato seedlings directly into the harsh outdoor environment. They must undergo a transitional phase known as hardening off. This process should begin 7 to 10 days before your intended outdoor transplant date. Hardening off acclimates the plants to direct sunlight, wind, and fluctuating outdoor temperatures, thickening their cell walls and preventing transplant shock or sunscald.
Start by placing the seedlings in a sheltered, partially shaded outdoor spot for just two hours on the first day. Gradually increase their outdoor exposure by one to two hours each day, slowly introducing them to more direct morning sunlight. By day seven or eight, the plants should be spending the majority of the day outside and staying outdoors overnight, provided the nighttime temperatures are consistently above 50 degrees Fahrenheit. Bring them indoors or cover them if a surprise late-season cold snap is forecasted.
Phase 3: When to Transplant Tomatoes Outdoors
The most common mistake novice gardeners make is transplanting tomatoes outdoors too early. The Old Farmer's Almanac strongly advises waiting until all danger of frost has passed and both the air and soil have sufficiently warmed. Tomatoes will not thrive if placed in cold, wet soil; doing so can lead to stunted growth, nutrient deficiencies (such as phosphorus lockout, which causes purple leaves), and root rot.
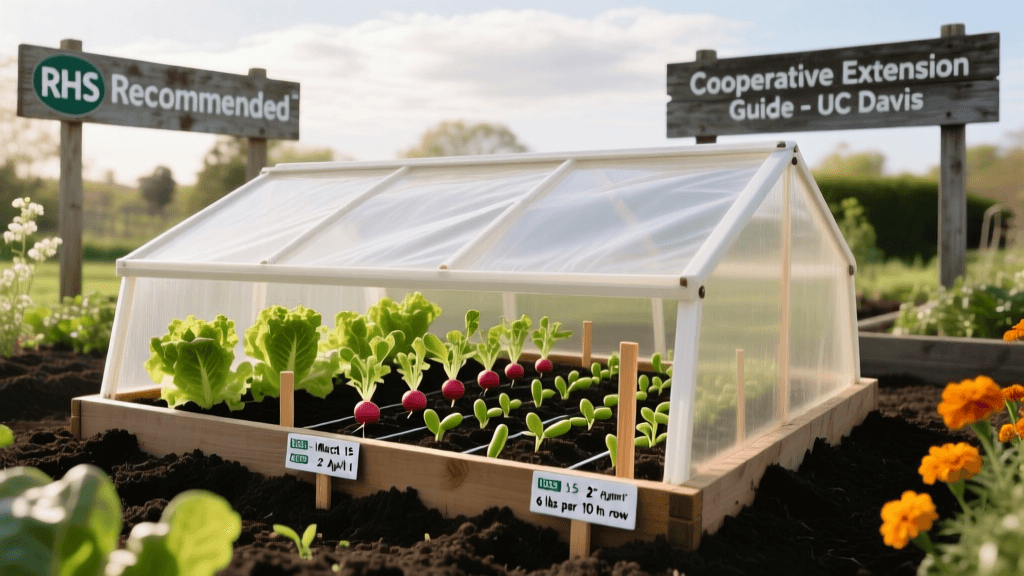
Soil Temperature and Weather Conditions
Before transplanting, use a soil thermometer to check the temperature at a depth of three inches. The soil must be consistently at least 60 degrees Fahrenheit. If you are planting in raised beds or containers, the soil will warm up slightly faster than traditional in-ground garden beds, potentially allowing you to transplant a week earlier. However, container plants will also dry out much faster and require more vigilant watering schedules throughout the summer. When transplanting, bury the tomato stem deeper than it was in its pot, leaving only the top two sets of leaves above the soil line. Tomatoes will sprout adventitious roots along the buried stem, creating a massive, robust root system that supports heavy fruit loads and withstands summer droughts.
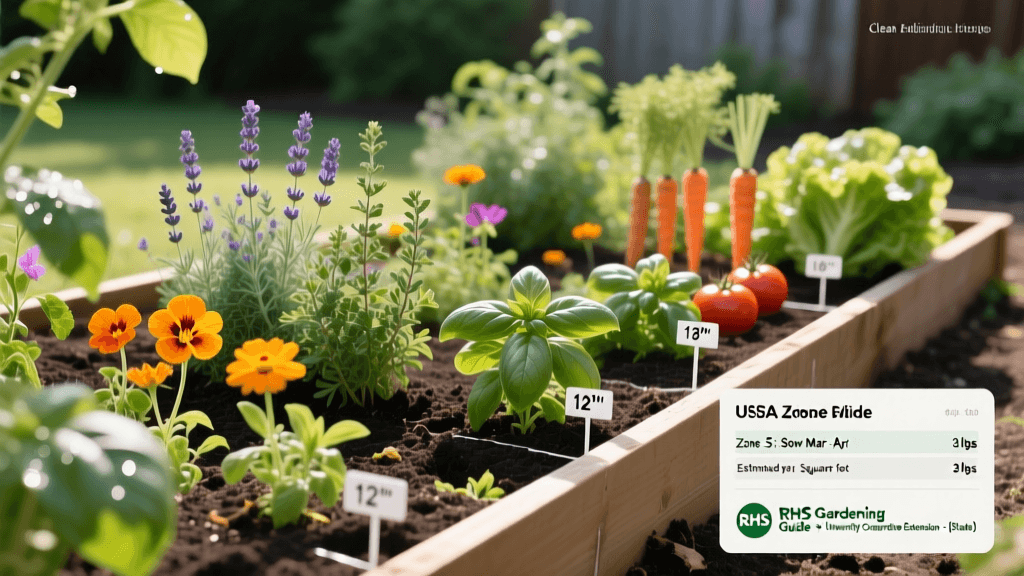
Tomato Planting Schedule by USDA Hardiness Zone
Because climates vary drastically across the country, your specific planting dates will depend on your local frost dates. You can determine your exact zone using the interactive USDA Plant Hardiness Zone Map. Below is a general timing guide for starting seeds indoors and transplanting outdoors based on broad regional zones.
| USDA Hardiness Zone | Last Spring Frost (Approx.) | Start Seeds Indoors | Transplant Outdoors |
|---|---|---|---|
| Zone 3-4 (Northern MN, ND, MT) | Mid to Late May | Early to Mid April | Early to Mid June |
| Zone 5 (CO, NE, IA, NY) | Late April to Early May | Early to Mid March | Mid to Late May |
| Zone 6 (MO, TN, VA, PA) | Mid to Late April | Early to Mid March | Early to Mid May |
| Zone 7 (AR, NC, GA, WA) | Early to Mid April | Mid to Late February | Late April to Early May |
| Zone 8 (TX, FL panhandle, OR) | Mid to Late March | Early to Mid February | Early to Mid April |
| Zone 9 (Central FL, Southern CA) | February (Frost rare) | Direct sow or Jan start | February to March |
| Zone 10-11 (South FL, HI) | Frost-free | August to September | Fall/Winter planting |
Phase 4: Timing for Pruning, Mulching, and Fertilizing
Once your tomatoes are in the ground, the timing of your maintenance routines will dictate the health and productivity of your plants. Mulching should be applied 2 to 3 weeks after transplanting, once the soil has fully warmed. Applying organic mulch, such as straw or shredded leaves, too early can trap cold moisture in the soil and slow root development. A 2-inch layer of mulch will subsequently conserve moisture, suppress weeds, and prevent soil-borne fungal spores from splashing onto the lower leaves during heavy rains.
Pruning: Determinate vs. Indeterminate Timing
Pruning timing and techniques depend entirely on the type of tomato you are growing. Determinate (bush) varieties grow to a fixed height, set all their fruit at once, and then decline. You should not prune the suckers (the small shoots that grow in the crotch between the main stem and branches) on determinate varieties, as doing so will remove potential fruit-bearing branches. Indeterminate (vining) varieties, however, will grow and produce fruit continuously until killed by frost. For indeterminate types, you should begin pruning suckers when they are small, typically 2 to 4 inches long, usually around 3 to 4 weeks after transplanting. Removing these suckers directs the plant's energy into producing larger fruit and improves air circulation, which is vital for preventing diseases like early and late blight.
Fertilizing Schedule
Tomatoes are heavy feeders, but over-fertilizing early in the season will result in lush, green foliage with very few flowers. Wait to apply your first heavy dose of fertilizer until the plants have established themselves and the first fruits are about the size of a golf ball. At this stage, switch to a fertilizer higher in phosphorus and potassium (such as a 5-10-10 blend or an organic option like Espoma Tomato-tone) to encourage blossom set and fruit development rather than vegetative growth.
Phase 5: When to Harvest Your Tomatoes
Knowing exactly when to pick your tomatoes is the final crucial step in the timing guide. While it is tempting to leave the fruit on the vine until it is deeply colored and fully soft, this makes the tomatoes highly vulnerable to splitting, bird damage, and pest attacks like tomato hornworms. The optimal time to harvest is during the breaker stage. This is the point when the tomato has reached its full size and begins to show a distinct blush of color (pink, red, yellow, or orange, depending on the variety) at the blossom end, typically covering about 10 to 30 percent of the fruit's surface.
Once a tomato reaches the breaker stage, it has severed its internal vascular connection to the vine and will no longer draw nutrients or sugars from the plant. It will ripen perfectly off the vine if placed in a warm, well-ventilated area indoors, away from direct sunlight. Harvesting at the breaker stage significantly reduces the risk of garden pests destroying your crop and frees up the plant's energy to develop and ripen the remaining green tomatoes on the vine. If a hard frost is forecasted in the autumn before your remaining green tomatoes have reached the breaker stage, harvest them all immediately and bring them indoors to ripen in paper bags with a banana, which emits ethylene gas to accelerate the ripening process.
Final Thoughts on Tomato Timing
Successful tomato cultivation is a marathon, not a sprint. By respecting the biological needs of the plant and aligning your gardening chores with the appropriate seasonal windows, you eliminate the most common pitfalls of tomato growing. Keep a detailed garden journal each year to track your local frost dates, soil warming rates, and harvest yields. Over time, you will fine-tune this when-to timing guide to match your specific microclimate, ensuring that your garden produces a massive, flavorful harvest of homegrown tomatoes year after year.