Gardening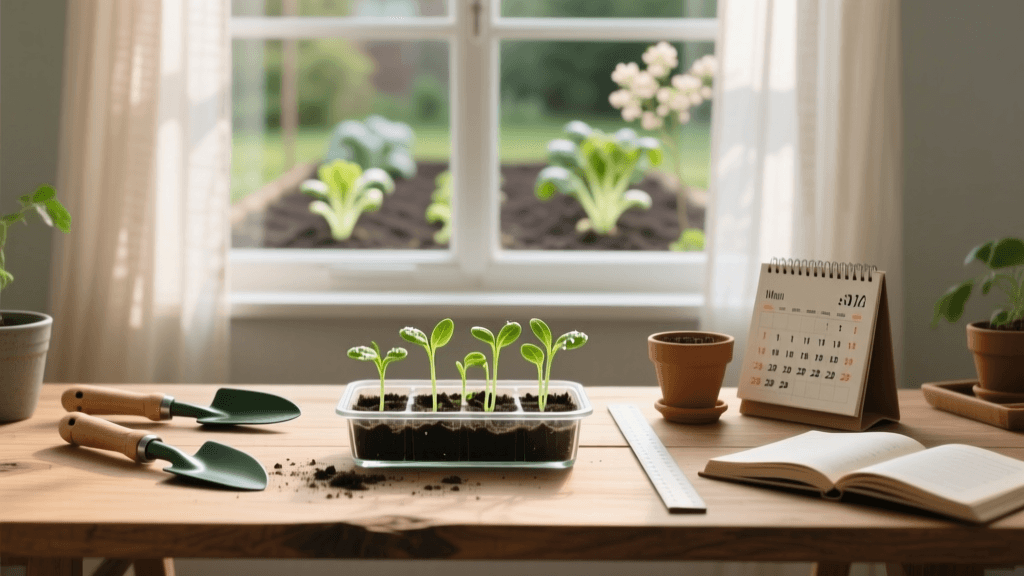
When to Start Seeds Indoors: A Vegetable Timing Guide
Why Timing is Everything for Seed Starting
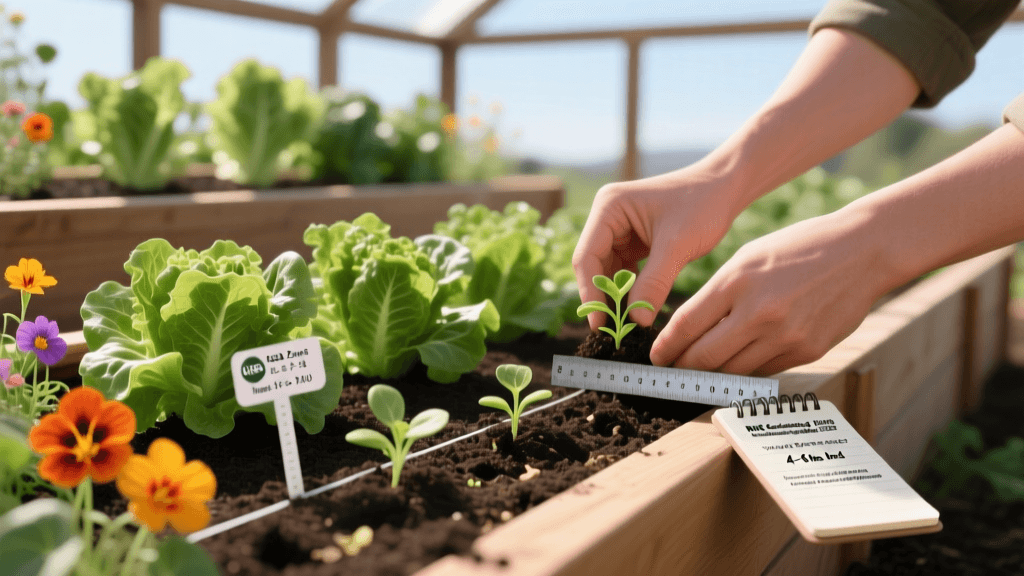
Starting your own vegetable seeds indoors is one of the most rewarding and cost-effective practices in home gardening. A single packet of seeds costing a few dollars can yield dozens of healthy transplants, saving you a significant amount of money compared to purchasing nursery-started seedlings. However, the success of your spring and summer harvest hinges entirely on one critical factor: timing. Starting seeds too early results in leggy, root-bound, and weak plants that struggle to adapt when moved outdoors. Starting them too late means you miss out on crucial weeks of the growing season, potentially sacrificing your yield before the first autumn frost. This comprehensive when-to timing guide will walk you through the exact calculations, environmental requirements, and scheduling strategies needed to produce robust vegetable transplants tailored to your specific climate zone.
Step 1: Pinpoint Your Average Last Frost Date
The cornerstone of any indoor seed starting schedule is your 'average last frost date' in the spring. This is the historical date after which your region typically experiences no freezing temperatures (32°F or 0°C). It is important to remember that this is a statistical average, not an absolute guarantee. Microclimates in your yard, such as low-lying frost pockets or sheltered urban courtyards, can shift this date by a week or more in either direction. To find your most accurate local frost date, you can use the The Old Farmer's Almanac Frost Date Calculator by entering your zip code. Additionally, cross-referencing your location with the USDA Plant Hardiness Zone Map will give you a broader understanding of your regional climate constraints and minimum winter temperatures, which is vital for planning your overall garden layout and perennial selections.
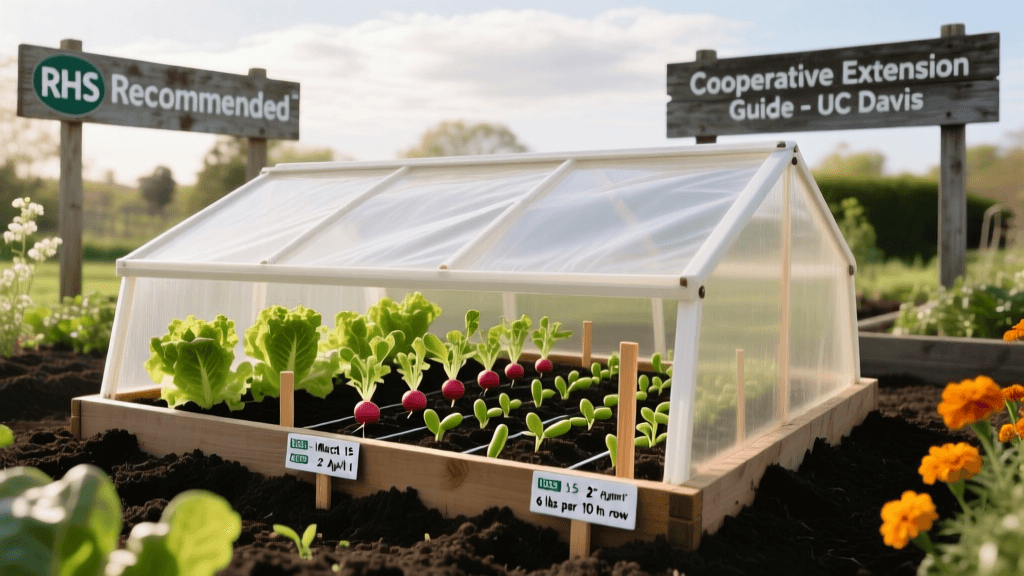
Step 2: Consult the Seed Starting Timing Chart
Different vegetables have vastly different growth rates and temperature requirements. Cold-hardy crops like brassicas can be transplanted outdoors before the last frost, while heat-loving solanaceous crops must wait until the soil has thoroughly warmed. Below is a structured timing chart detailing when to sow seeds indoors relative to your last spring frost date, along with optimal germination temperatures.
| Vegetable Crop | Weeks Before Last Frost to Sow Indoors | Optimal Soil Temp for Germination | Transplant Outdoors |
|---|---|---|---|
| Onions & Leeks | 10 to 12 weeks | 60°F - 75°F | 4 weeks before frost |
| Celery & Celeriac | 10 to 12 weeks | 70°F - 75°F | 1 to 2 weeks before frost |
| Peppers (Hot & Sweet) | 8 to 10 weeks | 80°F - 90°F | 1 to 2 weeks after frost |
| Eggplant | 8 to 10 weeks | 80°F - 90°F | 2 to 3 weeks after frost |
| Tomatoes | 6 to 8 weeks | 70°F - 80°F | 1 to 2 weeks after frost |
| Broccoli & Cauliflower | 6 to 8 weeks | 60°F - 70°F | 2 to 4 weeks before frost |
| Cabbage & Kale | 6 to 8 weeks | 60°F - 70°F | 3 to 4 weeks before frost |
| Lettuce & Spinach | 4 to 6 weeks | 60°F - 70°F | 2 to 4 weeks before frost |
| Cucumbers & Squash | 3 to 4 weeks | 70°F - 85°F | 1 to 2 weeks after frost |
| Watermelon & Pumpkins | 3 to 4 weeks | 75°F - 85°F | 2 weeks after frost |
Step 3: Calculate Your Sowing and Transplant Dates
Let us apply the chart above to a practical scenario. Suppose you live in USDA Hardiness Zone 6a, and your average last frost date is May 15th. If you want to grow beefsteak tomatoes, the chart indicates you should start them 6 to 8 weeks before the last frost. Counting backward from May 15th, your indoor sowing window falls between March 20th and April 3rd. You will then plan to transplant them outdoors between May 22nd and May 29th, once the soil temperature has consistently reached at least 60°F. For a faster-growing crop like zucchini, which only needs 3 to 4 weeks indoors, you would wait until April 17th to sow the seeds, preventing them from becoming massive and root-bound in their starter cells before the danger of frost has fully passed.
Step 4: Optimal Indoor Environment and Gear
According to research from the University of Minnesota Extension, providing the correct indoor environment is just as crucial as timing. Seeds require specific conditions to break dormancy and develop strong cellular structures. First, abandon standard garden soil or heavy potting mixes; they compact easily and harbor soil-borne pathogens that cause 'damping off' disease. Instead, invest in a sterile, lightweight seed starting mix, such as Burpee Organic Seed Starting Mix or Espoma Organic Seed Starter, which typically costs around $10 to $15 for a 16-quart bag. Next, temperature control is vital. While tomatoes germinate well at room temperature, peppers and eggplants often fail to sprout without bottom heat. A standard seedling heat mat ($20 to $25) placed under your 72-cell seed trays can increase germination rates by up to 50% and speed up emergence by several days. Finally, light is the most common point of failure. A sunny windowsill rarely provides the 14 to 16 hours of intense, direct light that seedlings require to prevent them from stretching and becoming 'leggy.' A dedicated LED grow light system, such as the Hydrofarm Jump Start T5 Grow Light System ($40 to $60), suspended just two to four inches above the seedling canopy, will produce stocky, vigorous transplants ready to withstand outdoor winds.
Step 5: The Hardening Off Phase
You cannot simply move a tender, indoor-raised seedling directly into full outdoor sun and wind; the shock will stunt or kill the plant. The transition period is called 'hardening off,' and it should begin 7 to 10 days before your scheduled transplant date. Start by placing your seedlings outdoors in a fully shaded, wind-protected area for just two hours on the first day. Gradually increase their exposure to direct morning sunlight and gentle breezes by an hour or two each subsequent day. By day seven, the plants should be spending the majority of the day outdoors in their final planting location, experiencing the natural temperature fluctuations they will face in the garden. This process triggers the plants to thicken their cell walls and produce a protective waxy cuticle on their leaves, essentially armoring them against the harsher outdoor elements.
When to Direct Sow Instead of Starting Indoors
Not all vegetables benefit from an indoor head start. Root crops, such as carrots, radishes, turnips, and beets, develop a delicate taproot that is easily damaged during the transplanting process. Any damage to the taproot will result in forked, stunted, or deformed vegetables. These crops should always be direct-sown into the garden soil as soon as the ground can be worked in early spring. Similarly, fast-growing warm-season crops with fragile root systems, including beans, peas, corn, and large-seeded squashes, are often better off direct-sown outdoors once the soil has warmed. Starting them indoors rarely provides a significant yield advantage and introduces unnecessary transplant shock. Always check the back of your seed packet; it will explicitly state whether the variety prefers 'direct sow' or 'start indoors.'
Common Seed Starting Timing Mistakes to Avoid
Even experienced gardeners fall victim to the enthusiasm of early spring. The most frequent mistake is starting seeds far too early. A tomato plant started 12 weeks before the last frost will quickly outgrow its cell tray, requiring multiple 'potting up' sessions into larger containers. This consumes massive amounts of indoor space, depletes the limited nutrients in the seed starting mix, and often results in a stressed plant that takes weeks to recover once placed in the garden. Another critical error is planting seeds at the wrong depth. A general rule of thumb is to plant seeds at a depth equal to two or three times their diameter. Tiny seeds like lettuce and celery should be barely pressed into the soil surface, as they require light to trigger germination, while larger seeds like squash and beans should be buried a full inch deep to ensure adequate moisture contact. By strictly adhering to a calculated timeline, providing intense artificial light, and respecting the hardening-off process, you will cultivate a garden of vigorous, high-yielding vegetables that seamlessly transition from your indoor nursery to your outdoor beds.