Gardening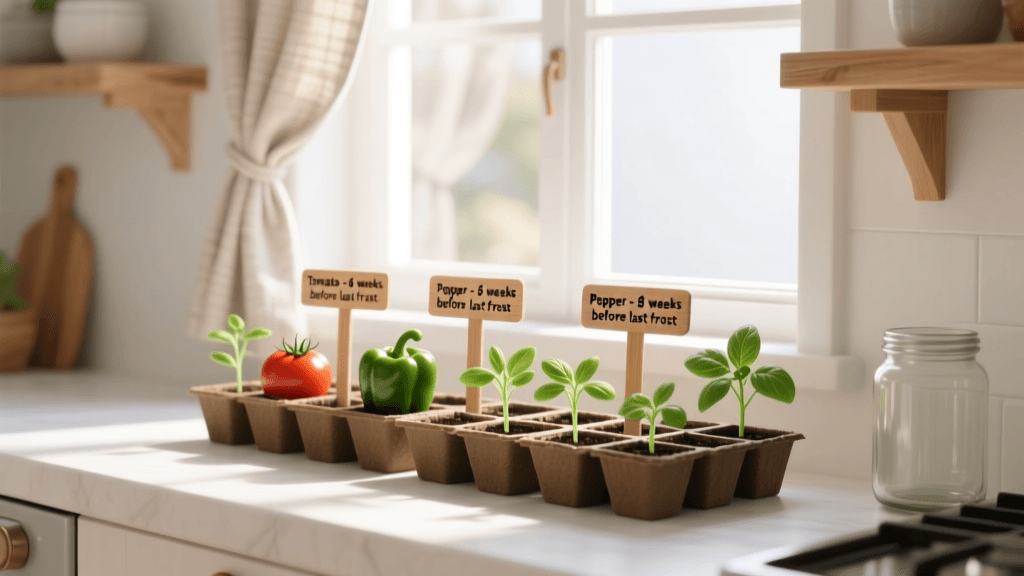
When To Start Seeds Indoors: A Spring Vegetable Guide
The Art and Science of Indoor Seed Starting
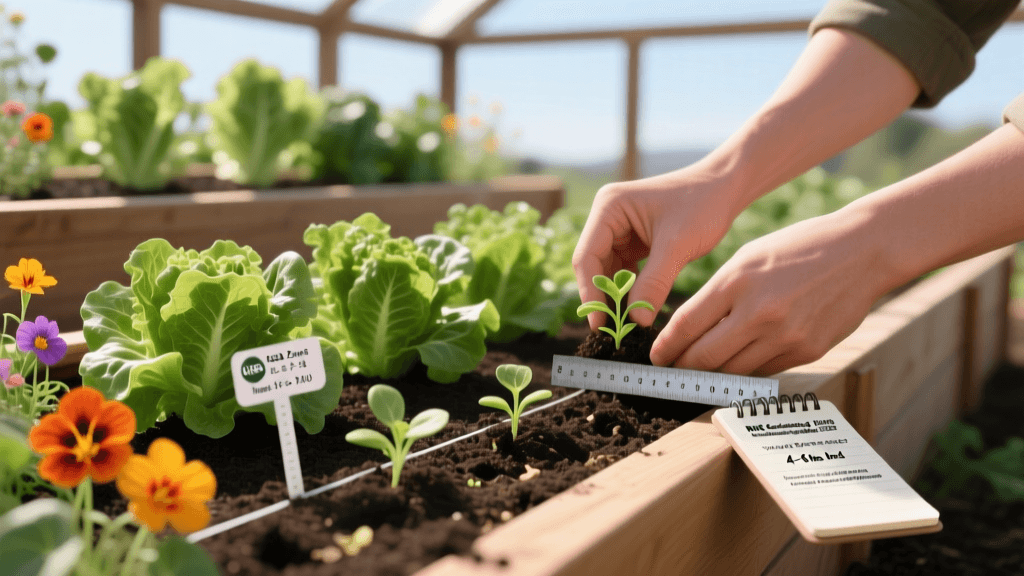
Starting your own vegetable and flower seeds indoors is one of the most rewarding and cost-effective practices for home gardeners. Not only does it allow you to grow unique, heirloom varieties that are rarely available as transplants at local garden centers, but it also gives you a massive head start on the growing season. However, the success of your spring garden hinges entirely on timing. Start too early, and your seedlings will become leggy, root-bound, and stunted before the weather is warm enough to plant them outside. Start too late, and you risk losing weeks of precious harvest time, especially for long-season crops like tomatoes and peppers.
This comprehensive when-to timing guide will walk you through the exact schedules, environmental requirements, and actionable steps needed to cultivate robust transplants ready for the spring garden.
Step One: Pinpoint Your Last Spring Frost Date
The cornerstone of any spring planting schedule is your average last spring frost date. This is the date in spring when there is a 50% chance that the last light freeze or frost has occurred in your specific geographic area. To find this date, you can consult the USDA Plant Hardiness Zone Map and cross-reference it with local historical weather data or use online frost date calculators provided by local agricultural extensions.
Keep in mind that microclimates exist within your own yard. If you live in a low-lying valley where cold air settles, your actual safe planting date might be a week or two later than the regional average. Conversely, urban gardens or elevated slopes may warm up slightly faster. Always use your last frost date as a baseline, and adjust based on your immediate surroundings and the current seasonal weather forecasts.
The Master Seed Starting Timeline
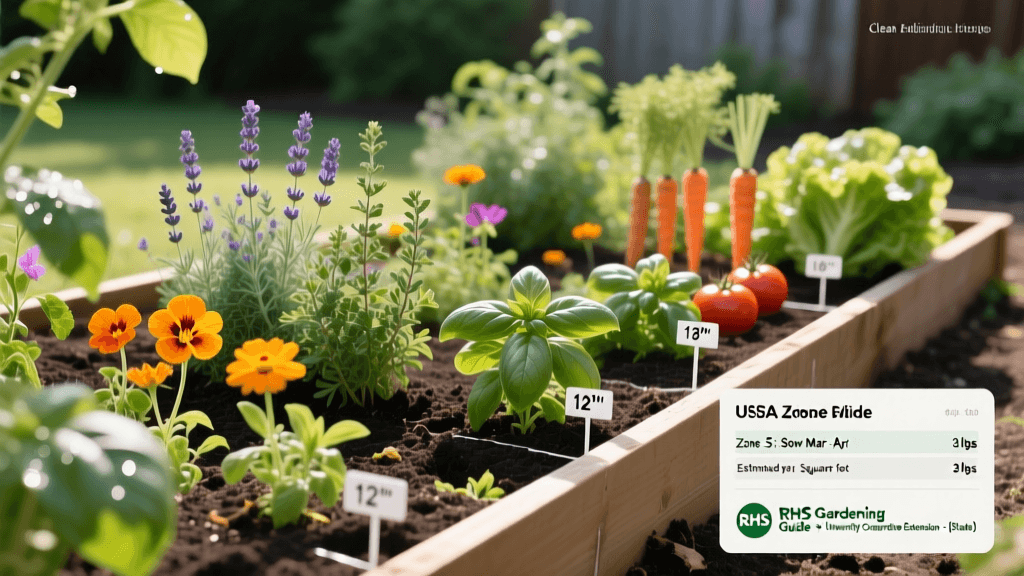
Once you have your last frost date, you can count backward in weeks to determine exactly when to sow your seeds indoors. Different plant families have vastly different growth rates and cold tolerances. Below is a structured data table outlining the ideal indoor sowing times for popular spring and summer crops.
| Crop Type | Weeks Before Last Frost | Ideal Soil Temp for Germination | Days to Germinate |
|---|---|---|---|
| Onions, Leeks, Celery | 10 to 12 weeks | 70°F - 75°F | 10 - 14 days |
| Peppers, Eggplant | 8 to 10 weeks | 80°F - 85°F | 7 - 14 days |
| Tomatoes, Tomatillos | 6 to 8 weeks | 75°F - 80°F | 5 - 10 days |
| Broccoli, Cabbage, Cauliflower | 6 to 8 weeks | 65°F - 70°F | 5 - 7 days |
| Lettuce, Spinach, Kale | 4 to 6 weeks | 60°F - 65°F | 3 - 7 days |
| Cucumbers, Squash, Melons | 3 to 4 weeks | 75°F - 85°F | 3 - 7 days |
| Zinnias, Marigolds | 4 to 6 weeks | 70°F - 75°F | 5 - 7 days |
Breaking Down the Timelines
10 to 12 Weeks Before Last Frost: The Slow Growers
Crops like onions, leeks, celery, and certain slow-growing herbs like rosemary require a long indoor incubation period. These seeds should be sown in late winter. For alliums, sprinkle the tiny black seeds densely in a shallow tray. Once they reach the thickness of a pencil lead, they will be ready to transplant into individual cells or directly into the garden as soon as the soil can be worked. According to the University of Minnesota Extension, maintaining consistent bottom heat is crucial for these slow germinators, so invest in a high-quality seedling heat mat set to around 70°F to 75°F.
8 to 10 Weeks Before Last Frost: The Heat Lovers
Peppers and eggplants are notoriously slow to germinate and require high soil temperatures (up to 85°F) to break dormancy. Sow these seeds in sterile seed-starting mix, barely covering them with a fine dusting of vermiculite. Because they are heat-loving, keeping the humidity dome on the tray until the first green hooks appear is essential. Once sprouted, remove the dome immediately to prevent fungal diseases and place them under grow lights.
6 to 8 Weeks Before Last Frost: The Garden Staples
This is the sweet spot for tomatoes, tomatillos, and the brassica family (broccoli, cabbage, Brussels sprouts). Tomatoes germinate quickly and grow aggressively. A common mistake is starting tomatoes too early, resulting in massive, unwieldy plants that outgrow their indoor space. Sow tomato seeds 1/4 inch deep. Brassicas, on the other hand, prefer slightly cooler germination temperatures (around 65°F) and will bolt if kept too warm. Keep your broccoli and cabbage seedlings in a cooler room or away from direct heat vents.
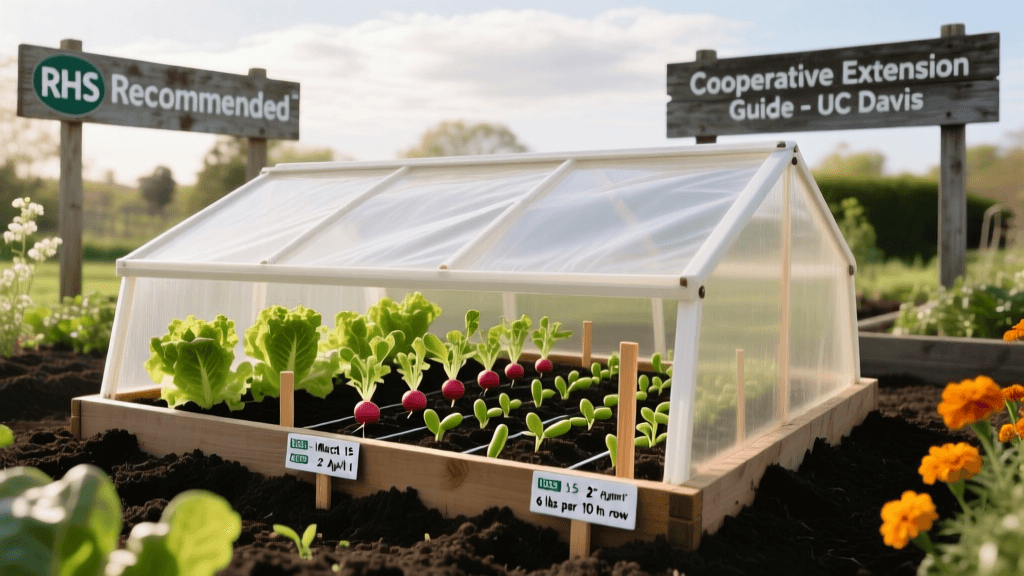
3 to 4 Weeks Before Last Frost: The Root-Sensitive Cucurbits
Cucumbers, zucchini, pumpkins, and melons grow incredibly fast and despise having their roots disturbed. Do not start these seeds indoors any earlier than 3 to 4 weeks before your last frost. Furthermore, sow them directly into biodegradable peat or cow pots that can be planted whole into the garden. This prevents transplant shock, which can set cucurbit growth back by weeks.
Essential Equipment for Seed Starting Success
To execute this timing guide effectively, you need the right environment. Relying on a sunny windowsill is a recipe for weak, leggy seedlings. Here is what you need:
- Sterile Seed Starting Mix: Never use garden soil or heavy potting soil. Use a light, peat-moss or coco-coir-based seed starting mix (such as Espoma Organic Seed Starter) that promotes drainage and prevents soil-borne pathogens.
- Full-Spectrum Grow Lights: Seedlings require 14 to 16 hours of intense light daily. Use full-spectrum LED or T5 fluorescent grow lights. Keep the light canopy exactly 2 to 4 inches above the tops of the seedlings, adjusting the height daily as the plants grow.
- Seedling Heat Mats: A waterproof heat mat with a digital thermostat probe ensures your soil stays in the optimal germination zone, dramatically increasing your success rate.
- Oscillating Fan: Gentle airflow strengthens the plant stems (simulating natural wind) and keeps the foliage dry, which is the best defense against fungal issues.
The Crucial Final Step: Hardening Off
Your timing schedule does not end when the last frost date arrives. You cannot take a tender, indoor-grown seedling and immediately plunge it into the harsh UV rays and wind of the outdoors. You must 'harden off' your transplants over a 7 to 10-day period.
- Days 1-2: Place seedlings outdoors in a fully shaded, wind-protected area for 2 to 3 hours, then bring them back inside.
- Days 3-4: Increase outdoor time to 4 to 5 hours, introducing them to dappled morning sunlight.
- Days 5-7: Leave them out for 6 to 8 hours, allowing them to experience direct morning sun and gentle breezes. Bring them in if nighttime temperatures drop below 50°F.
- Days 8-10: Leave them outside overnight (provided temperatures remain safely above freezing) and expose them to full-day sun.
Common Seed Starting Mistakes to Avoid
Even with perfect timing, poor cultural habits can ruin your crop. Penn State Extension highlights that 'damping off' is the most common and devastating issue for indoor seed starters. Damping off is a fungal disease that causes seedlings to suddenly pinch at the soil line, wilt, and die. It is caused by overwatering, poor air circulation, and non-sterile soil.
To prevent this, always bottom-water your seedling trays. Place water in the bottom tray and allow the soil to wick the moisture upward. This keeps the surface of the soil dry, depriving fungal spores of the damp environment they need to thrive. Additionally, avoid the temptation to over-fertilize. Seed starting mixes contain enough nutrients to sustain seedlings for their first few weeks. Only begin applying a diluted, half-strength liquid organic fertilizer (like fish emulsion or kelp) once the plants have developed their second set of true leaves.
Conclusion
Mastering the when-to timing of indoor seed starting transforms you from a passive gardener into an active cultivator. By anchoring your schedule to your local frost date, respecting the unique biological needs of different plant families, and providing the correct environmental controls, you will produce vigorous, disease-free transplants. When the spring soil finally warms and the danger of frost has passed, your garden will be ready to explode into growth, yielding an earlier, heavier, and more diverse harvest than ever before.