Tree Care
Winter Tree Care: How to Protect Trees From Frost and Salt Damage
Winter is a formidable adversary for your landscape. While deciduous trees drop their leaves and enter a state of dormancy, they are far from invincible. Freezing temperatures, harsh winds, heavy snow loads, and toxic de-icing salts can cause irreversible damage to both young saplings and mature specimens. Proper seasonal maintenance is not just about survival; it is about ensuring vigorous spring growth. In this comprehensive guide, we will explore actionable, step-by-step winter tree care strategies to safeguard your landscape against frost cracks, winter burn, and salt toxicity.
Understanding Winter Stressors in the Landscape
Trees face several unique environmental challenges between late November and early March. The most common issues include:
- Frost Cracks: Sudden temperature drops cause the outer bark to contract faster than the inner wood, leading to vertical splitting.
- Sunscald: Winter sun warms the bark on cold days, stimulating cellular activity. When the sun sets and temperatures plummet, these active cells freeze and die.
- Winter Burn (Desiccation): Evergreens lose moisture through their needles faster than the frozen ground can replenish it.
- Salt Damage: Sodium chloride from roads and driveways alters soil chemistry and causes toxic ion buildup in root zones.
According to the University of Minnesota Extension, proactive late-fall preparation is the single most effective way to mitigate these stressors before the ground freezes solid.
Step 1: Deep Hydration Before the Freeze
A common misconception is that trees do not need water once they drop their leaves. In reality, root systems continue to grow and store energy until the soil temperature drops below 40°F. A tree entering winter with a moisture deficit is highly susceptible to winter burn and root dieback.
Watering Measurements and Timing
Continue watering your trees weekly until the ground freezes. The general rule of thumb is to provide 10 gallons of water per inch of trunk diameter (measured at knee height). Use a slow-release soaker hose or a drip irrigation system to ensure the water penetrates the top 12 inches of soil, where the majority of the absorbing roots reside. For a newly planted tree with a 2-inch caliper, this means applying 20 gallons per week. If autumn rainfall is insufficient, this manual hydration is non-negotiable.
Step 2: Applying the Right Mulch Layer
Mulch acts as an insulating blanket, regulating soil temperature and retaining critical moisture. However, improper mulching can invite rodents and fungal diseases.
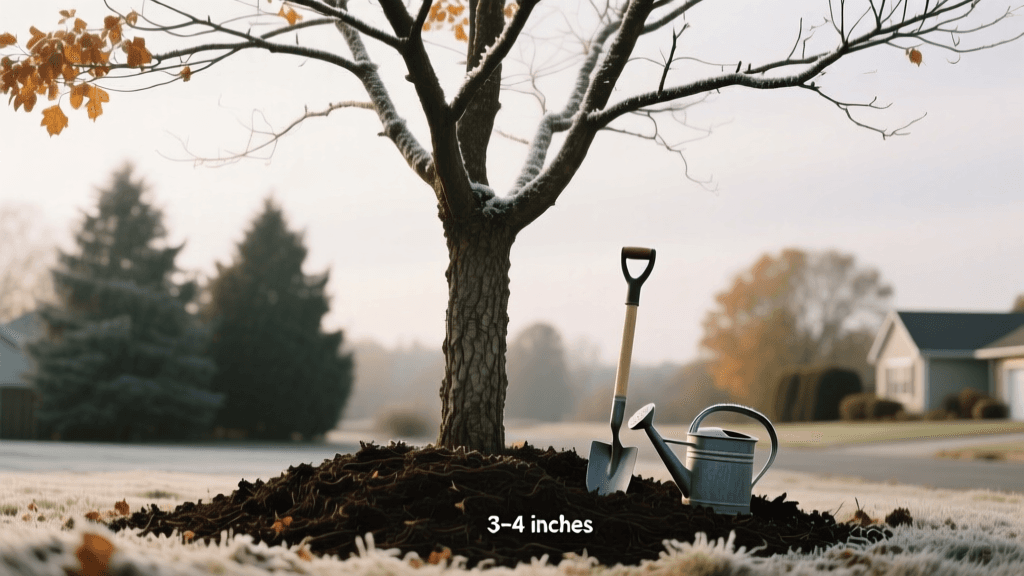
The Donut Method
Apply a 2 to 4-inch layer of organic mulch, such as shredded hardwood bark or pine straw, over the root zone. Extend the mulch ring to the tree’s drip line if possible. Crucially, keep the mulch at least 3 to 5 inches away from the trunk flare. Piling mulch against the bark (often called 'volcano mulching') traps moisture, leading to crown rot and providing a hidden habitat for voles that will chew through the cambium layer during winter.
Step 3: Wrapping Trunks to Prevent Frost Cracks and Sunscald
Young trees with thin bark—such as maples, ash, crabapples, and honeylocusts—are highly vulnerable to sunscald and frost cracking. Additionally, hungry rabbits and deer often target tender bark when other food sources are buried under snow.
Materials and Application
Purchase a commercial tree wrap made of crepe paper or a white plastic tree guard. The white color reflects winter sunlight, preventing the bark from overheating on sunny, freezing days.
- Timing: Apply the wrap in late fall after the first hard freeze.
- Technique: Start at the base of the trunk and wrap upward, overlapping each layer by about one-third. Secure the top with natural twine or horticultural tape (never use wire or duct tape, which can girdle the tree).
- Removal: You must remove the wrap in early spring as soon as the buds begin to swell. Leaving it on year-round traps moisture and provides a breeding ground for fungal pathogens and boring insects.
- Cost: A standard roll of crepe paper tree wrap costs between $8 and $15, which is enough to protect 3 to 4 young trees.
Step 4: Protecting Evergreens from Winter Burn
Evergreens, particularly arborvitae, yews, and hemlocks, retain their foliage year-round, meaning they continue to transpire (lose water) throughout the winter. When the ground is frozen, roots cannot replace this lost moisture, resulting in brown, dead needles on the windward side of the tree.
Anti-Desiccant Sprays and Burlap Screens
To combat this, apply an anti-desiccant spray like Wilt Pruf in late November and again during a winter thaw in January. These polymer-based coatings seal the stomata on the needles, reducing moisture loss by up to 80%. Costing roughly $20 to $35 per concentrate bottle, it is a highly cost-effective insurance policy.
For highly exposed shrubs and small evergreens, construct a windbreak using wooden stakes and heavy-duty burlap. Do not wrap the burlap tightly against the foliage; instead, create a screen a few inches away from the plant to block harsh northwest winds while allowing air circulation.
Managing Road Salt and De-Icer Damage
De-icing salts are a necessary evil for driveway safety, but they are toxic to trees. Sodium chloride (rock salt) leaches into the soil, displacing essential nutrients like potassium and calcium, and causing a chemical drought where roots cannot absorb water. The Morton Arboretum notes that salt damage often manifests in spring as marginal leaf browning, stunted growth, and premature fall color.
Choosing the Right De-Icer
If you must use a de-icer near your landscape, choose plant-safe alternatives and apply them judiciously. Below is a comparison of common winter ice-melt products.
| De-Icing Product | Active Ingredient | Plant Toxicity | Effective Temp | Est. Cost (per 50lb bag) |
|---|---|---|---|---|
| Rock Salt | Sodium Chloride | High (Severe root burn) | Down to 20°F | $10 - $15 |
| Ice Melt | Calcium Chloride | Moderate (Safer than sodium) | Down to -25°F | $25 - $35 |
| Pet/Plant Safe | Magnesium Chloride | Low (Good for landscapes) | Down to -13°F | $30 - $40 |
| Eco-Friendly | Calcium Magnesium Acetate (CMA) | Very Low (Biodegradable) | Down to 20°F | $45 - $60 |
Pro Tip: To minimize chemical use, shovel snow promptly and use abrasive materials like coarse sand or kitty litter for traction on icy walkways. If salt-laden snow piles up near trees, physically move the snow away from the root zone before it melts and leaches into the soil.
Winter Pruning: The Dormant Advantage
While protecting trees is paramount, winter is also the ideal time for structural pruning on most deciduous species. Because the leaves have fallen, the tree’s architecture is fully visible, allowing arborists and homeowners to identify crossing branches, weak crotches, and diseased wood that might otherwise be hidden. Furthermore, the Arbor Day Foundation highlights that pruning during dormancy minimizes the risk of spreading airborne fungal diseases and deters wood-boring insects, which are attracted to the volatile compounds released from fresh pruning cuts in the spring and summer.
Best Practices for Dormant Pruning
Wait until the coldest part of winter has passed, typically late February or early March, just before the spring sap flow begins. Use sharp, sterilized bypass pruners or a pruning saw. Always employ the three-cut method for heavy limbs to prevent the bark from tearing down the trunk. Never top a tree; instead, make reduction cuts back to a lateral branch that is at least one-third the diameter of the removed stem. This preserves the tree's natural defense zones and ensures rapid wound closure once the growing season commences.
Spring Recovery and Assessment
Winter care does not end when the snow melts. As temperatures rise in early spring, carefully inspect your trees. Remove trunk wraps, pull back any displaced mulch, and flush the soil around driveway-adjacent trees with heavy watering to dilute residual salt concentrations. Prune any branches that were broken by heavy snow loads, making clean cuts just outside the branch collar to promote rapid compartmentalization.
By investing a few hours and a modest budget into seasonal maintenance, you protect the structural integrity and long-term health of your trees. A well-maintained tree not only survives the harshest winters but thrives for decades, providing immense ecological and property value to your home landscape.