
Landscaping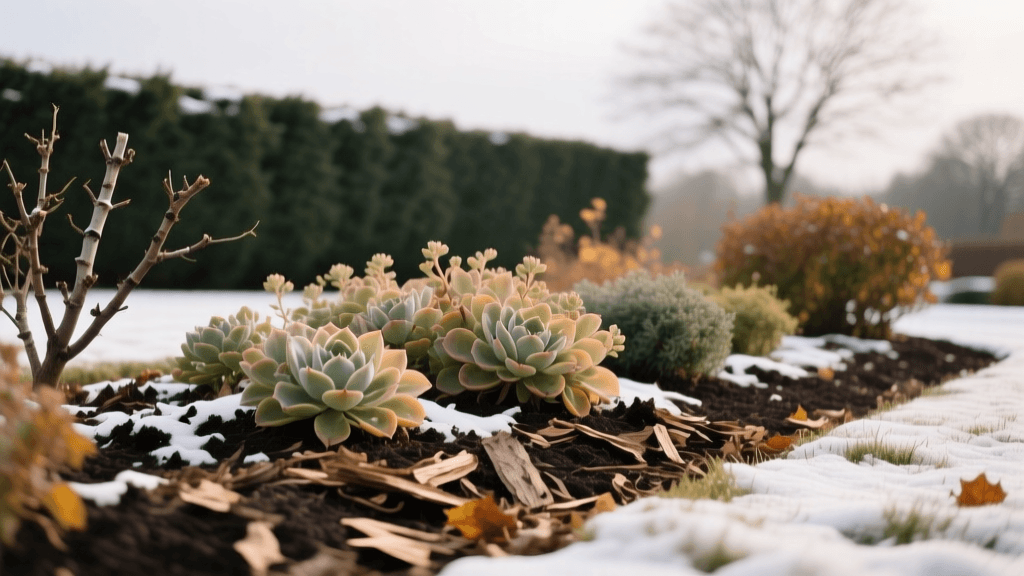
Winterizing Landscape Beds for Optimal Spring Health
Why Winterizing Landscape Beds is Crucial for Plant Health
As autumn transitions into winter, the visible growth of your landscape slows down, but beneath the soil, critical biological processes are still at work. Winterizing landscape beds is not merely about tidying up before the snow falls; it is a vital seasonal maintenance practice that dictates the health, vigor, and disease resistance of your ornamental plants in the spring. Temperature fluctuations, harsh drying winds, and the damaging freeze-thaw cycle can wreak havoc on unprotected root systems and hardscaping.
By implementing a strategic fall and winter maintenance regimen, you protect your landscape investment, improve soil structure, and set the stage for explosive spring growth. This guide provides actionable, step-by-step instructions for soil amendment, mulching, dormant pruning, and evergreen protection.
Step 1: Late-Season Soil Testing and Amendment
Before the ground freezes, assessing your soil health is paramount. According to the Penn State Extension, fall is the ideal time to conduct soil tests and apply slow-acting amendments like lime or sulfur, as they require several months to alter the soil pH profile effectively.
How to Take an Accurate Soil Sample
- Use a soil probe or trowel to extract cores from 6 to 8 inches deep across your landscape beds.
- Follow a zig-zag pattern, avoiding areas immediately under downspouts or near hardscape edges where runoff alters the chemistry.
- Mix 10 to 15 cores in a clean plastic bucket, let the soil air dry, and send a composite sample to your local university extension laboratory.
If your test indicates acidic soil (pH below 6.0) in beds containing hydrangeas or azaleas, no action may be needed. However, if you are growing neutral-preferring shrubs like boxwood or viburnum, apply pelletized garden lime at a rate of roughly 50 pounds per 1,000 square feet, adjusting based on your specific lab recommendations. Avoid fast-release synthetic nitrogen fertilizers in late fall, as they can stimulate tender new growth that will be killed by the first hard frost. Instead, top-dress beds with a half-inch layer of organic compost, such as Espoma Organic Traditions Compost, to slowly feed soil microbes throughout the winter.
Step 2: Applying the Right Winter Mulch
Mulching is a cornerstone of landscape bed health, but timing and technique are everything. A common mistake is applying winter mulch too early. You must wait until after the first hard freeze (when temperatures drop below 28°F for several hours). Applying mulch while the soil is still warm traps heat, delays dormancy, and invites rodent nesting and fungal diseases.
Furthermore, avoid the infamous 'mulch volcano'—piling mulch high against the trunks of trees and shrubs. The Cornell University Department of Horticulture warns that mulch piled against bark causes moisture retention, leading to bark decay, girdling roots, and eventual tree death. Always maintain a 3-inch gap between the mulch ring and the base of the plant.
Winter Mulch Comparison Chart
| Mulch Type | Insulation Value | Decomposition Rate | Est. Cost (per cu. ft.) | Best Use Case |
|---|---|---|---|---|
| Shredded Hardwood | High | Medium | $3.50 - $5.00 | General beds, slopes, wind resistance |
| Pine Straw | Medium | Slow | $4.00 - $6.00 | Acid-loving plants, large woodland areas |
| Cedar Chips | High | Very Slow | $5.00 - $7.00 | Pest deterrence, pathways, perennial beds |
| Leaf Mold (Shredded) | Medium | Fast | Free (DIY) | Soil amendment, woodland gardens |
Aim for a uniform mulch depth of 2 to 3 inches. If you are using pine straw, you can apply up to 4 to 5 inches, as it compresses significantly over the winter months.
Step 3: Dormant Pruning for Structural Health
Winter is the optimal time for structural pruning of deciduous trees and summer-flowering shrubs. Without leaves, the branching architecture is fully visible, allowing you to identify crossing branches, weak crotches, and diseased wood. Pruning during dormancy also minimizes the risk of spreading pathogens like fire blight or oak wilt, which are active in the spring and summer.
The Three-Cut Method for Large Branches
When removing branches larger than 2 inches in diameter, use the three-cut method to prevent bark tearing:
- The Undercut: Make a shallow cut on the underside of the branch, about 12 inches from the trunk. This stops the bark from peeling down the trunk when the branch falls.
- The Top Cut: Move 2 inches further out on the branch and cut completely through from the top. The branch will break away cleanly.
- The Collar Cut: Make the final cut just outside the branch collar (the swollen area where the branch meets the trunk). Never cut flush against the trunk, as this removes the tree's natural healing tissue.
Pro Tip: Always sterilize your pruning shears and saws between plants using a solution of 1 part household bleach to 9 parts water. This prevents the accidental transmission of viral and bacterial diseases across your landscape.
What NOT to Prune in Winter: Avoid pruning spring-blooming shrubs like azaleas, rhododendrons, lilacs, and forsythia during the winter. These plants set their flower buds in late summer and fall; winter pruning will remove the upcoming spring blooms. Wait until immediately after they finish flowering in the spring to prune these species.
Step 4: Protecting Broadleaf Evergreens and Hardscapes
Broadleaf evergreens, such as hollies, boxwoods, and rhododendrons, continue to lose moisture through their leaves (transpiration) throughout the winter. When the ground is frozen, the roots cannot replace this lost water, leading to 'winter burn'—characterized by brown, crispy leaf margins.
Applying Anti-Desiccants
To combat winter burn, apply an anti-desiccant spray, such as Wilt Pruf or Bonide Wilt Stop. These organic pine-based coatings seal the stomata (pores) on the leaves, reducing moisture loss.
- Timing: Apply when daytime temperatures are above 40°F and no rain or snow is forecast for at least 24 hours.
- Coverage: Spray thoroughly until the liquid drips from the foliage, ensuring you coat the undersides of the leaves where most stomata are located.
- Reapplication: Most anti-desiccants break down under UV light; a second application in mid-to-late January is highly recommended for maximum protection.
Preventing Frost Heave in Hardscapes and Beds
The freeze-thaw cycle causes soil to expand and contract, a phenomenon known as frost heave. This can push shallow-rooted perennials (like heuchera and scabiosa) completely out of the ground, exposing their crowns to lethal freezing temperatures. It can also crack retaining walls and stone pathways if the base gravel was improperly compacted.
If you notice perennials pushed out of the soil during a mid-winter thaw, gently step on the surrounding soil to firm it back down, and add a temporary layer of loose straw or evergreen boughs over the exposed crown to insulate it until spring. For hardscapes, ensure that adjacent landscape beds slope away from stone borders at a minimum 2% grade to prevent water from pooling under the pavers and freezing.
Summary: Your Winter Landscape Checklist
Consistent seasonal maintenance ensures your landscape survives the harsh winter and thrives in the spring. Keep this quick checklist handy:
- Test soil and apply lime or compost before the ground freezes.
- Stop nitrogen fertilization by early autumn to encourage dormancy.
- Wait for the first hard freeze before applying 2-3 inches of mulch.
- Keep mulch 3 inches away from tree trunks to prevent rot.
- Prune deciduous trees and summer-blooming shrubs using sterile tools.
- Leave spring-blooming shrubs alone until after they flower.
- Spray broadleaf evergreens with an anti-desiccant in late fall and mid-winter.
By dedicating a few weekends in late fall and early winter to these critical landscaping tasks, you safeguard the structural integrity and biological health of your outdoor spaces, guaranteeing a lush, vibrant property when the spring thaw finally arrives.

